

Renowned photographer and educator Rick Friedman is no stranger to dramatic lighting—and his latest shoot in the Boston Public Garden is a perfect example of how smart gear choices can elevate a concept.
In a stunning outdoor session featuring a model in a flowing red...

Lighting is one of the trickiest aspects of photography. Sometimes, your subject is well-lit, but the background is too dark. Other times, you expose for the background, and your subject looks like a shadowy silhouette. So how do you strike the perfect balance?
That’s...
Mar 06, 2021
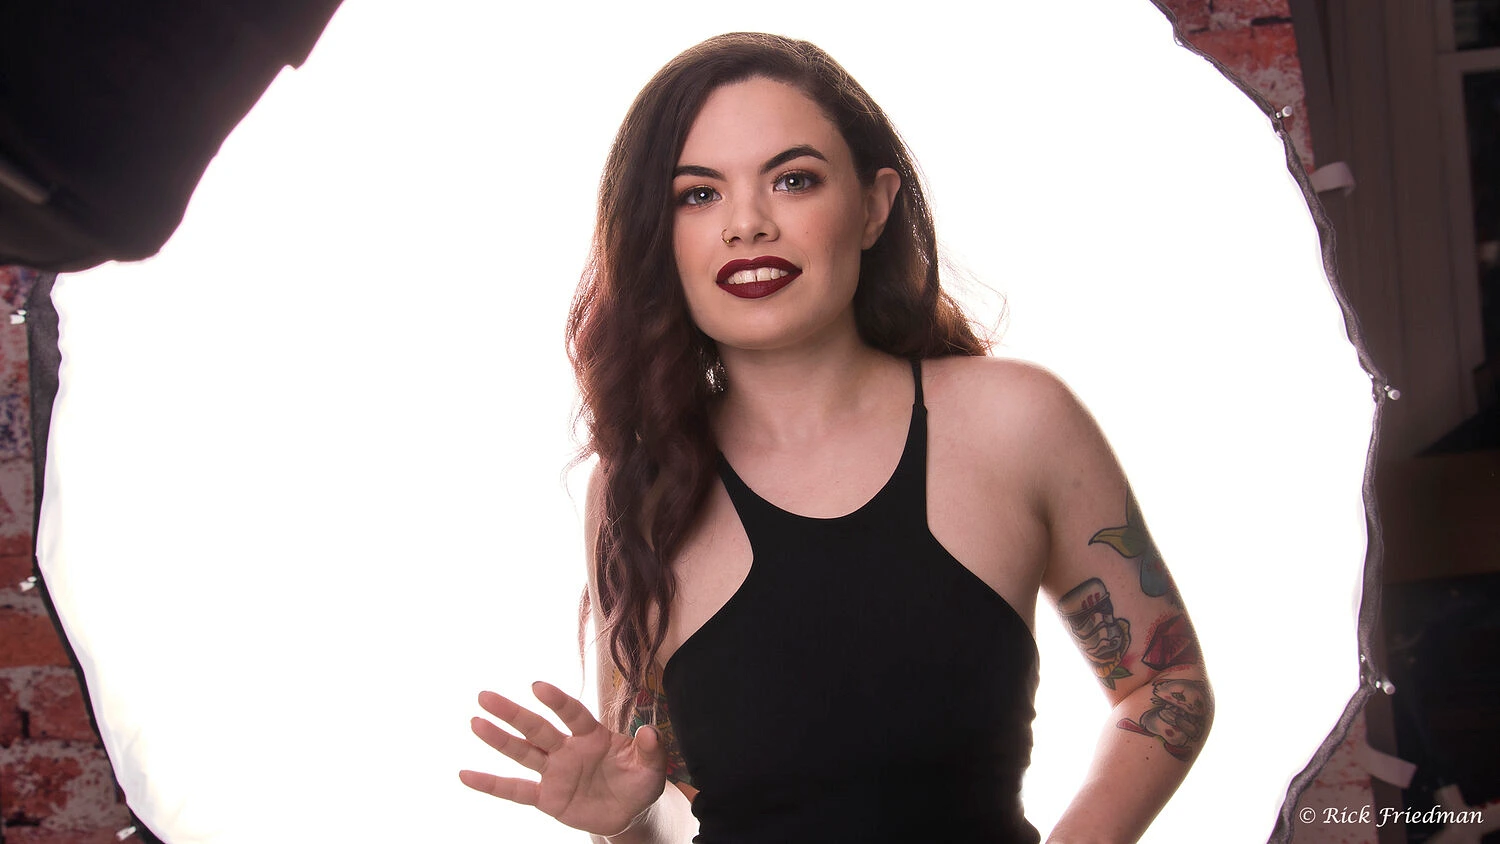
Creating high key light is making sure there is enough light on your background so it is pure white, with no shadows. This can be done using strobes or LEDs or a mixture of both types of light.
There are several ways to do this.
My favorite way to accomplish high key light is to use a...
Jan 10, 2021
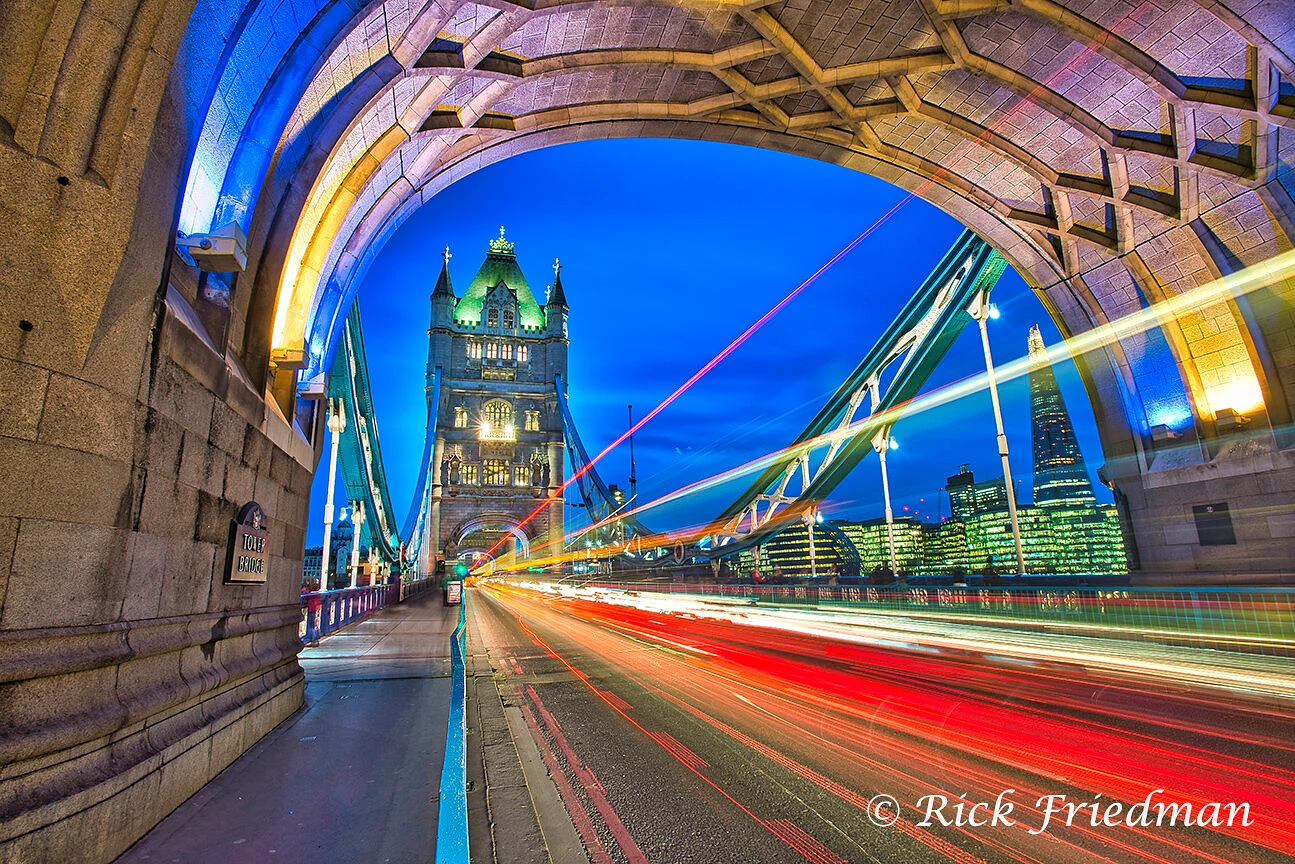
Like most photographers, I’m always looking for the right location, the right angle, the perfect light and the right moment to make the photograph.Whether I’m traveling abroad or walking around Boston, near my studio, one of my favorite times to shoot is blue hour, after the sunsets...
Jan 07, 2021
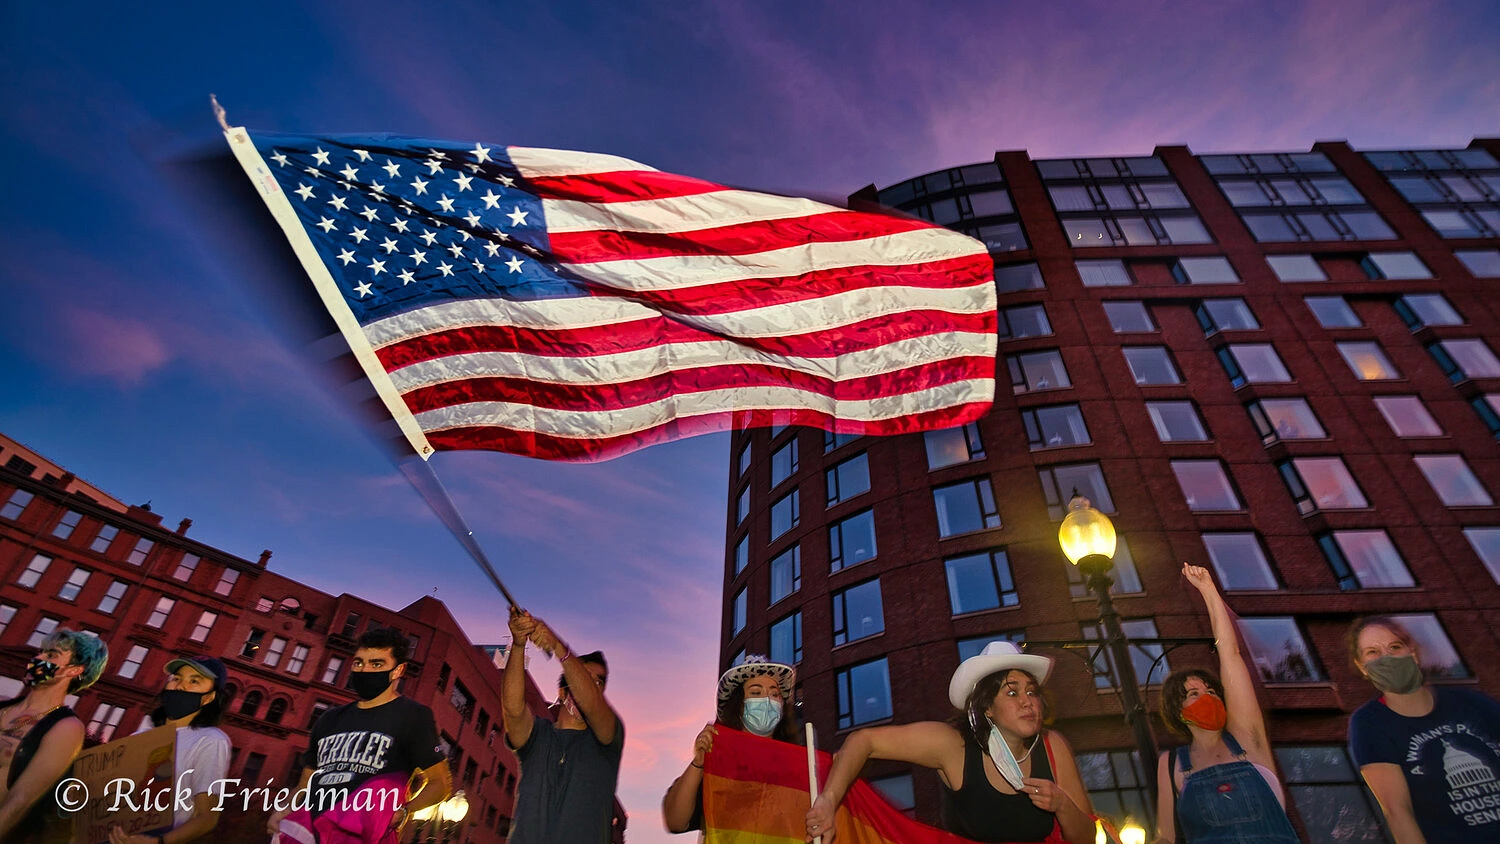
I made this photograph back in November on the Saturday the presidential election results were announced. It was a long day of walking around Boston covering marches, celebrations and protests.
It was getting late in the afternoon and I knew I already had a number of...
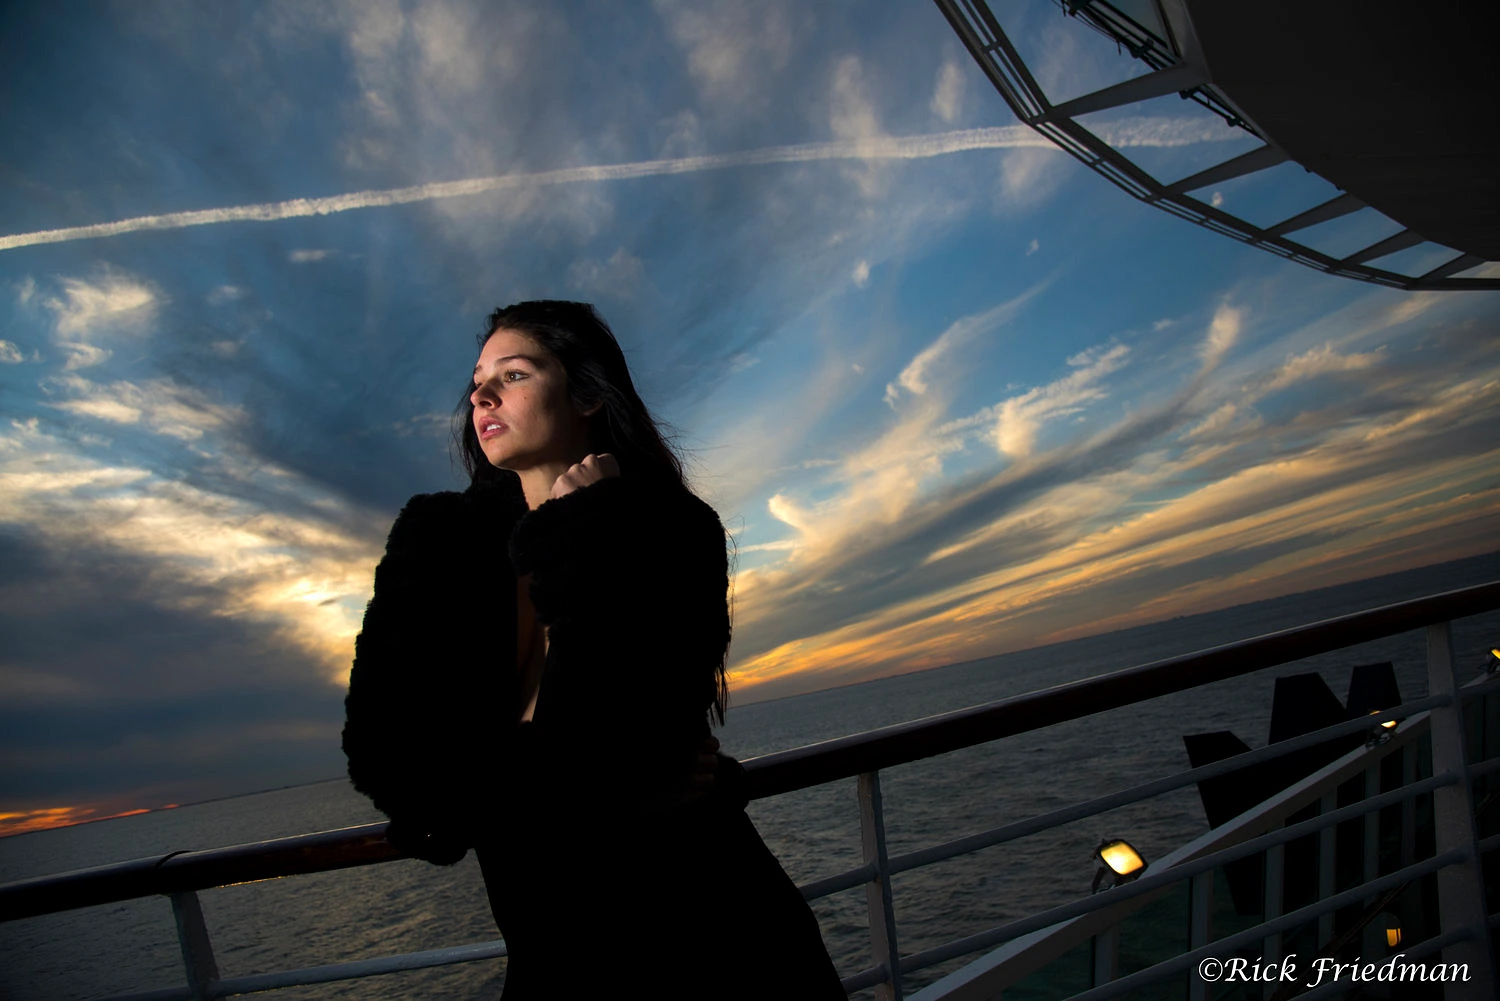
Back in January, I joined Vanelli as a co-instructor on the “Vanelli and Friends Model Workshop” on a Royal Caribbean cruise to the Bahamas. A group of photographers and several models set sail for several days at sea. The ship became our floating studio. Read more about how I...
Your blog posts will appear here
To see the actual view of your blog, click the Preview icon (  ) to see how your blog looks